Optimising the 6work Wordpress Site on a 2014 Raspberry Pi
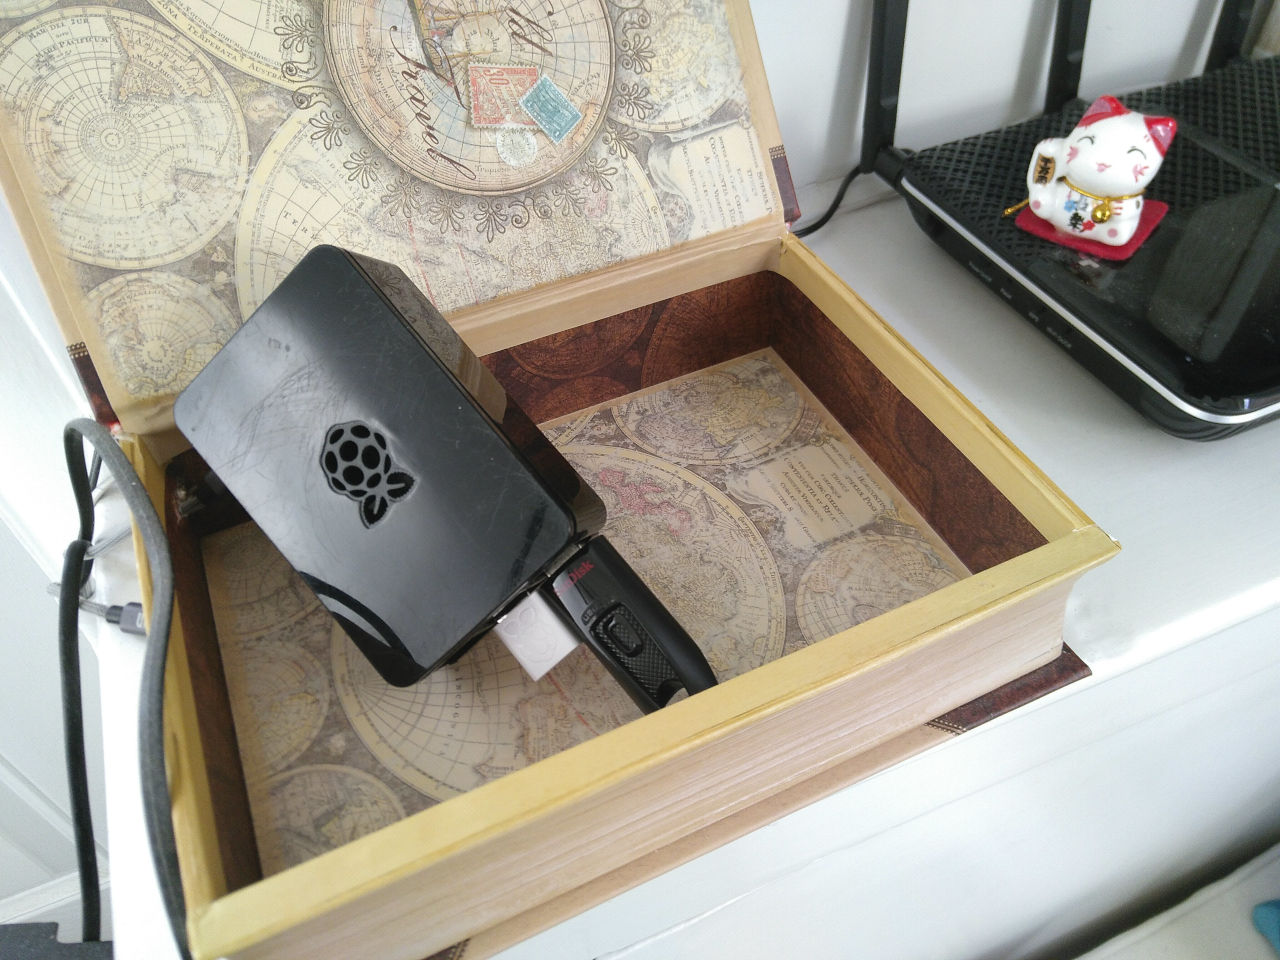
Today, I spent a nice gentle couple of hours optimising my weeknotes blog at 6work.exmosis.net. For context, here’s the server it runs on:
I’ve looked into optimisation for it before, as the Pi was falling over whenever I posted a link to Mastodon - decentralised networks are great, but each federated server was also requesting a copy of the site, effectively DDoSing myself with a single post.
So it had some improvements already - mostly webp image conversion and page caching, which is 75% there. I was getting Bs and Cs in GTMetrix reports, and so wanted to apply a bit more tweaking and recently-acquired knowledge to the site, as an exercise.
General approach
I break my approach down into a fairly structured workflow these days, depending on what’s being reported as slow. This time round, I had the following main issues, which were all technical , rather than anything more fundamental to do with design or infrastructure - I’m trying to avoid upgrading the Pi for now. The three main issues were:
- Initial response from the server was slow - 2-3 seconds.
- Images weren’t being lazy loaded.
- I hadn’t applied any deferred script or style loading.
1. nginx
I hadn’t looked too much into nginx optimisation yet, so this was a good first port of call. A quick search found this nice hostadvice guide to nginx which I followed, including reducing gzip compression levels from 5 to 1, to reduce server load.
This forms the basic context for PHP, Wordpress, and all the plug-ins, so it’s always worth spending time on it. Going forwards, I want to look into ways of testing speed at the web server level, decoupled from Wordpress and plug-ins, but not one for today.
2. Lazy loading images
Having realised images were being served as webp, but not being lazy loaded, I looked into (free) options for this in Wordpress.
From recent work on other Wordpress sites, I wondered if it was worth using the Smush plugin from WMPU Dev alongside Hummingbird, so disabled the existing WebP Express plugin and set Smush up.
Short story made shorted, it turns out the free version of Smush adds lazy loading, but doesn’t have webp compression (just smaller jpegs). Meh. I re-enabled WebP Express as I knew it mostly worked, and it does - however, it just felt like overkill to keep Smush installed just for lazy loading, so I replaced it with the Lazy Load plugin by WP Rocket, which handles images, iframes and videos.
I like that smaller-plugin approach for flexibility. So many plugins seem to be to just upsell you CDN, conversion and other premium features that you don’t really need on a daily basis. Not for a self-hosted Raspberry Pi, at least.
I also decided to go a bit more lo-fi: Images on the site are generally photos to provide a visual hook, especially for thumbnails on social media and RSS feeds, so I opted to convert jpegs using lossy compression, at 50% quality. That’s fine for most stuff.
3. Asset optimisation in Hummingbird
With images being lazy loaded as webp, I then turned to the final stage of addressing content shifts, to get things displaying fast, and to tweak the Google SEO rating even higher. Hummingbird has some very user-friendly config here, and my general approach is:
- Move all style and script assets to the bottom using Hummingbird, but don’t minify or combine them.
- Run the target page through GTMetrix or Lighthouse to find out which assets are causing big CLS score jumps.
- Switch Hummingbird to manual mode, and either pull the relevant CSS for these elements out to be included up front, or stop deferring the relevant style files (depending on the size of the file and how much refers to the initial above-the-fold display)
- In-line the CSS that’s been pulled out, and minify, combine and defer everything else.
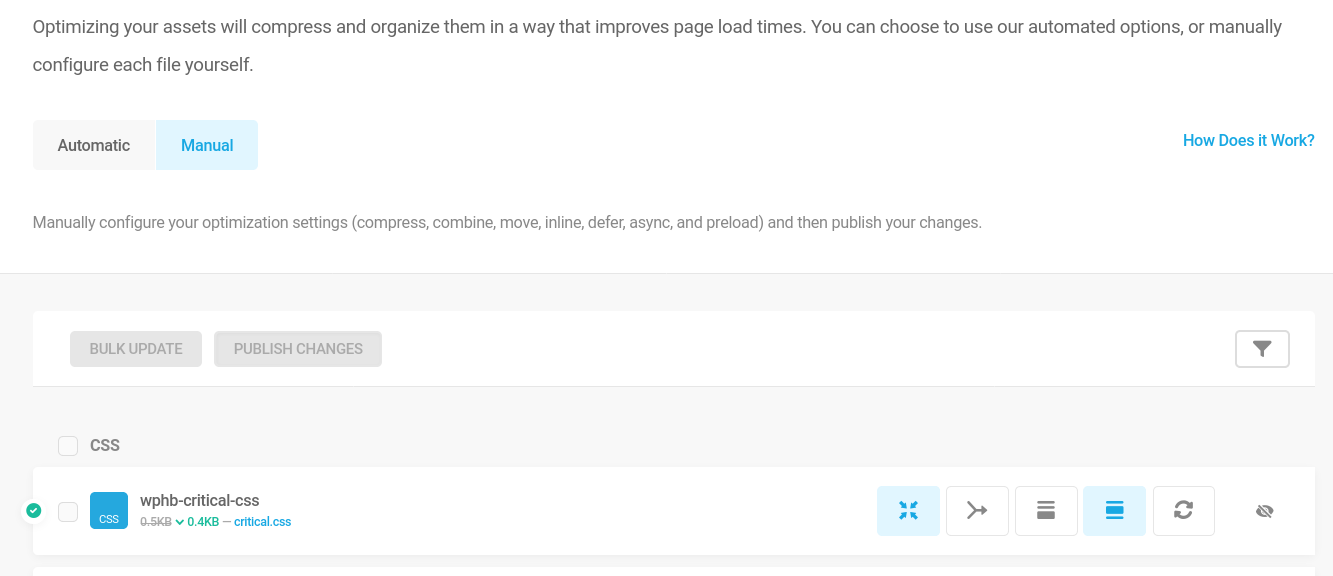
I have a couple of notes on navigating Hummingbird’s pipeline here, namely:
- Hummingbird saves the above-the-fold CSS into a file called “wphb-critical-css”, and adds a link to this in the header.
- To inline it, you need to refresh the assets in Hummingbird, and then select the option to inline it.
- I got a bit confused between when Hummingbird clears its cache, so it can be useful to deactivate it while doing this.
In the end, I decided to simply include my theme’s main style.css file up-front, as well as to in-line some of the more essential styling. That’s a bit of duplication, but I decided to cut my time losses, given the file is just 20kb.
I also removed the default Emoji JS and CSS files in Hummingbird’s Advanced Tools, enabled Lazy Loading of comments, and then switched caching on across the whole site. Oh, and fixed up SSL by removing some old TLS ciphers in nginx.
Testing and results
To make sure everything was working, I quickly browsed the site, viewing the source, loading images in new tabs to check their URLs were the right ones, and checking the network activity to make sure images were being loaded when needed, rather than up-front.
I constantly ran checks using both GTMetrix and Lighthouse - sometimes I’d forget to re-enable caching, or a change would improve speed at the cost of CLS score, for instance.
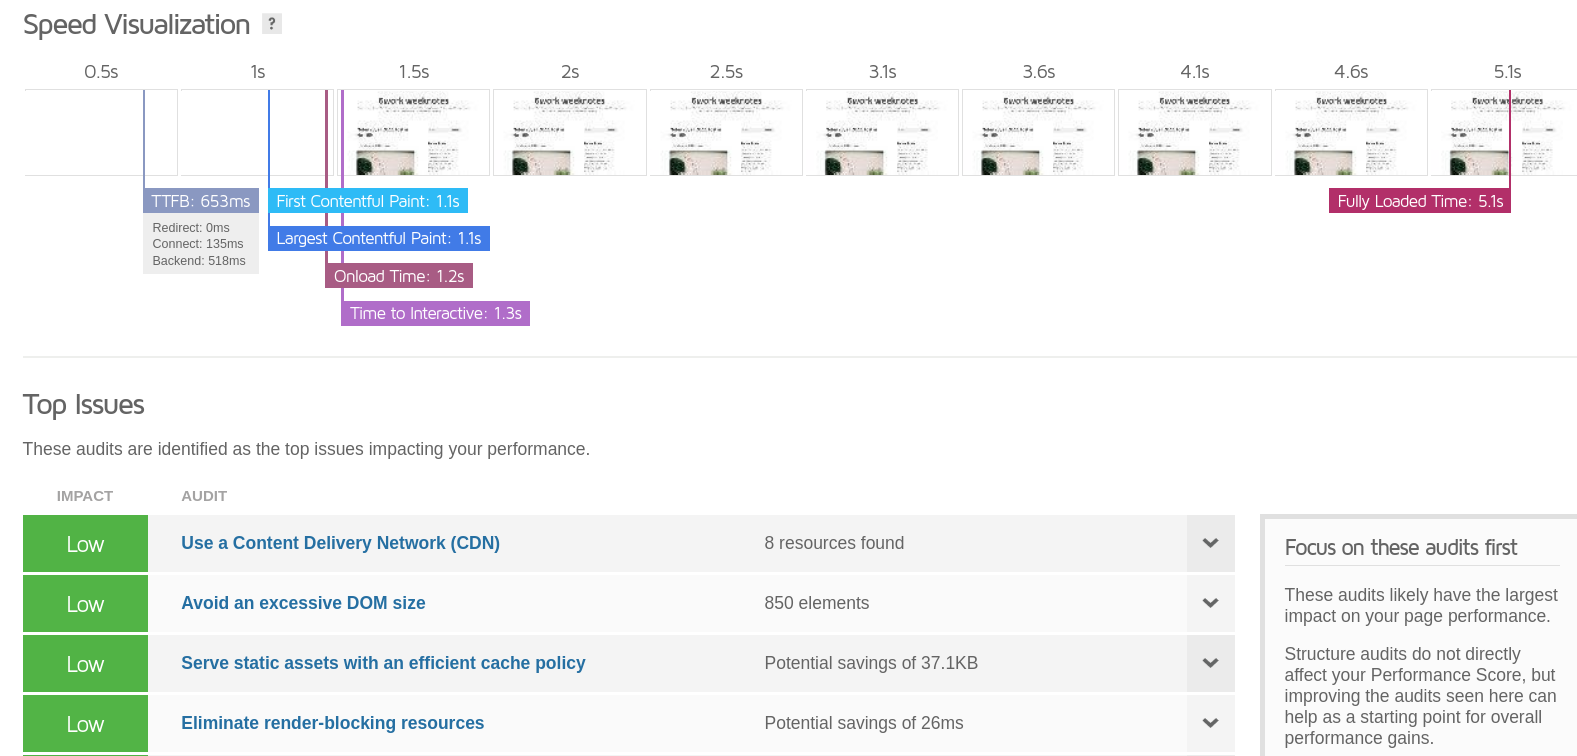
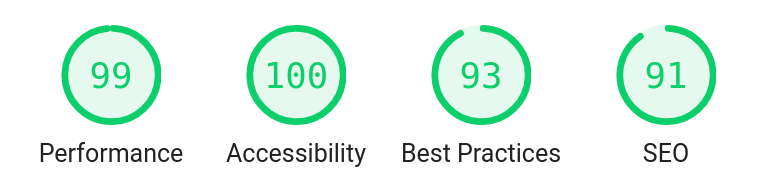
I wanted to get an initial response back under a second, and GTMetrix is showing , while Lighthouse is giving me performance scores like 83% (when run through Firefox plugin, mobile version), 99% (desktop, local Lighthouse), and 90% (mobile, local Lighthouse).
GTMetrix:
Lighthouse:
Conclusion
So there are still tweaks that could be made, but I’ve done what I wanted to do, which is basically to show it’s possible to self-host a Wordpress blog on some 8-year-old hardware in your hallway, that you can pick up for about £15 on ebay. I mean, that’s not bad.